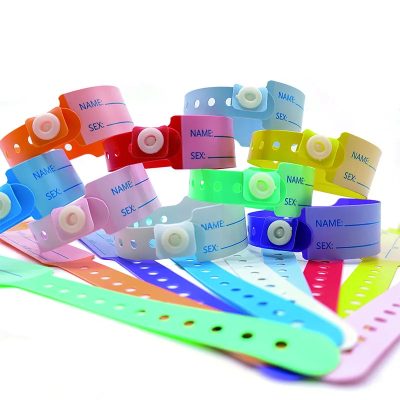
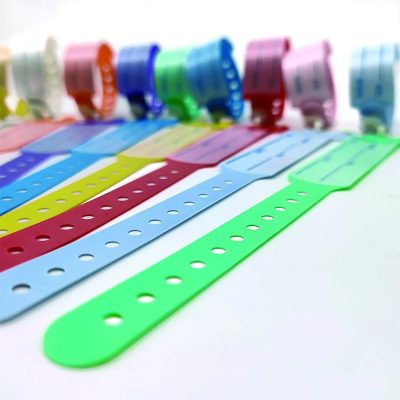
Making personalized plastic wristbands at home can be a fun and creative project. Whether you’re planning a party, organizing a small event, or simply want to customize wristbands for personal use, here’s a step-by-step guide to help you create your own unique designs.
- Gather Your Materials Before you start, gather all the materials you’ll need:
- Plastic sheets or strips (available at craft stores or online)
- Permanent markers, acrylic paints, or stickers for decorating
- Scissors
- Velcro strips or adhesive closures (optional for securing the wristbands)
- Choose Your Design Decide on the design and purpose of your wristbands. Are they for a birthday party, a themed event, or just for fun? Consider colors, patterns, and any text or symbols you want to include. Sketch out your ideas on paper if needed to visualize the final product.
- Cut the Plastic Strips Use scissors to cut the plastic sheets or strips into wristband-sized pieces. Standard wristbands are usually about 1 inch wide and long enough to comfortably fit around a wrist. Adjust the size according to your preference and the intended wearer.
- Decorate Your Wristbands This is where you can get creative! Use permanent markers to draw designs, write names, or add patterns directly onto the plastic strips. If you prefer, use acrylic paints for a more colorful and vibrant look. Alternatively, decorate with stickers or decals that adhere well to plastic surfaces.
- Allow for Drying Time If you’ve used paint or markers that require drying, allow the wristbands to dry completely before handling them further. This ensures that your designs stay intact and don’t smudge.
- Add Closure Mechanism (Optional) Depending on your preference, you can add closure mechanisms to secure the wristbands around the wrist. Velcro strips work well for adjustable closures, or you can use adhesive closures that stick together firmly.
- Personalize Each Wristband If you’re making wristbands for multiple people or purposes, personalize each one accordingly. Write individual names, add different colors, or customize with unique designs to make each wristband special.
- Test for Comfort and Fit Before using the wristbands, test them for comfort and fit. Ensure they are not too tight or loose around the wrist and that any closure mechanism you’ve added works effectively.
- Enjoy Your DIY Wristbands Once your personalized plastic wristbands are complete and tested, distribute them or wear them proudly! They can be used for parties, events, as friendship bracelets, or even as identifiers for groups or teams.
- Consider Sustainability If sustainability is a concern, look for plastic materials that are recyclable or consider alternative materials like paper or fabric for future projects. Being mindful of environmental impact adds an extra layer of thoughtfulness to your DIY creations.
Creating personalized plastic wristbands at home is a rewarding way to express creativity and customize accessories for various purposes. Whether you’re making them for yourself, friends, or a special occasion, follow these steps to craft unique and memorable wristbands that stand out.


